Setup
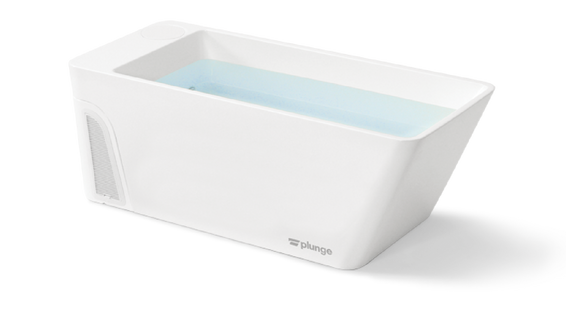
Plunge All-In
Setup instructions for the next generation Plunge tub.
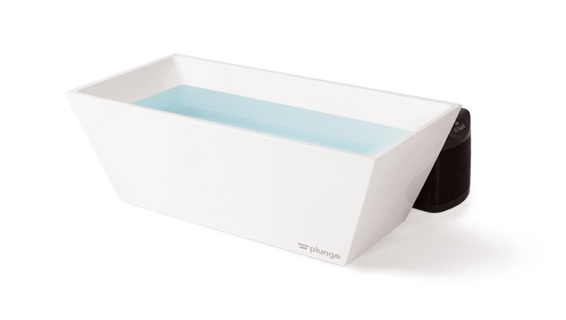
The Plunge
Setup instructions for the original Plunge tub.
How to:
Check out The Plunge Manuals for more information.
Check out The Plunge Manuals for more information.
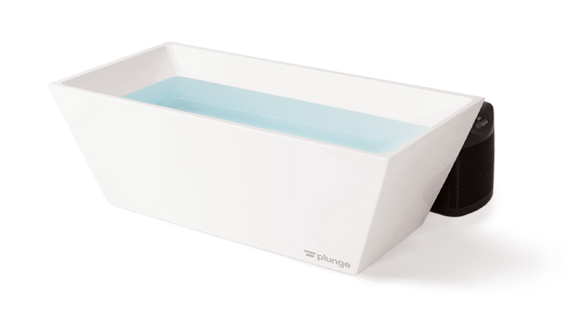
The Plunge Commercial
Setup instructions for the original Commercial Plunge tub.
How to:
Check out The Plunge Manuals for more information.
Check out The Plunge Manuals for more information.
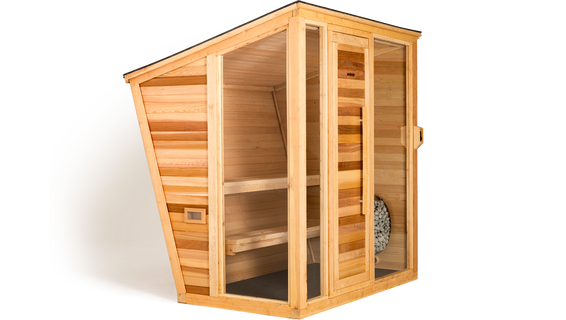
Plunge Sauna
Setup instructions for the premium Plunge sauna.
How to:
Check out the Sauna Manuals for more information.
Check out the Sauna Manuals for more information.
Plunge All-In
Setup instructions for the next generation Plunge tub.
The Plunge
Setup instructions for the original Plunge tub.
How to:
Check out The Plunge Manuals for more information.
Check out The Plunge Manuals for more information.
The Plunge Commercial
Setup instructions for the original Commercial Plunge tub.
How to:
Check out The Plunge Manuals for more information.
Check out The Plunge Manuals for more information.
Plunge Sauna
Setup instructions for the premium Plunge sauna.
How to:
Check out the Sauna Manuals for more information.
Check out the Sauna Manuals for more information.